
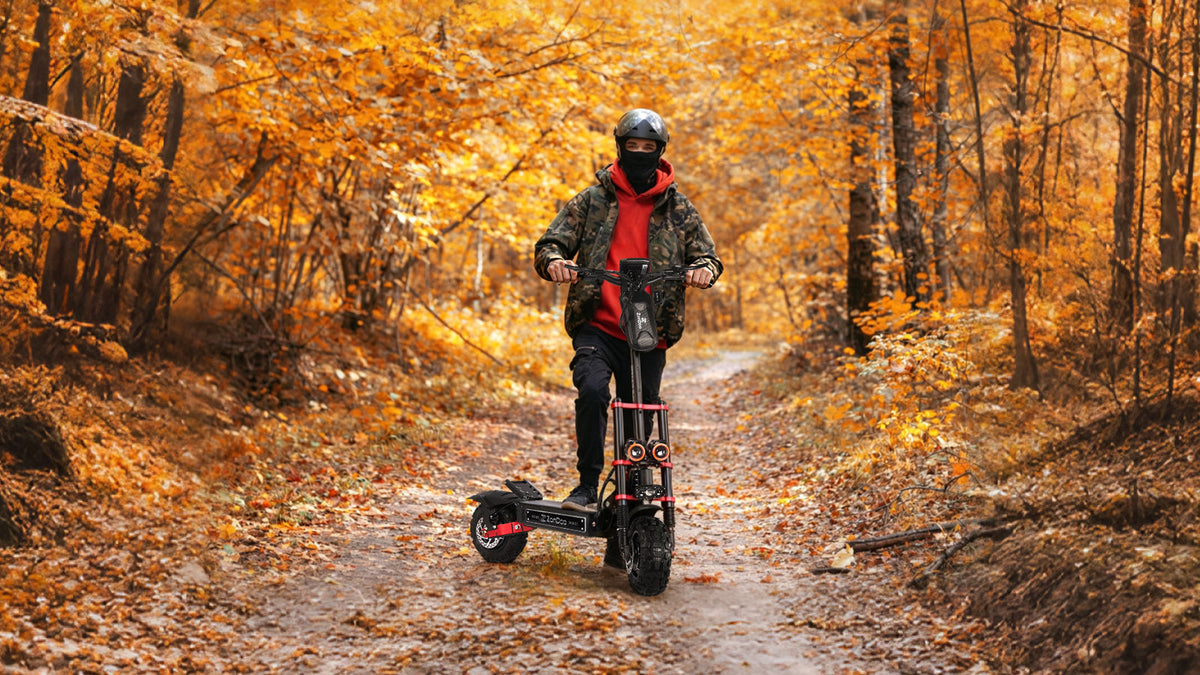
Brakes are the most critical safety component of your electric scooter. Whether you ride daily for commuting or explore rough off-road trails with your high-power scooter, well-tuned brake levers and calipers ensure responsive stopping power, stable control, and safe riding experiences.
Over time, frequent riding, vibration, and brake pad wear will cause loose levers, soft brake feel, rubbing brake discs, or delayed braking. Most beginners choose to ignore these minor issues, which may lead to brake failure and potential safety hazards. The good news is that adjusting brake levers and calipers is a simple DIY maintenance task that requires only basic tools. In this guide, we will walk you through a step-by-step adjustment process for both brake levers and calipers.
Tools You Need for Brake Adjustment
You don’t need professional repair equipment. Prepare these simple tools before starting:
-
Hex key set (most Roadhitter and mainstream e-scooters use 3mm/4mm/5mm hex keys)
-
Adjustable wrench
-
Clean cloth (for wiping brake disc dust)
-
Gloves (optional, for clean operation)
Part 1: How to Adjust Electric Scooter Brake Levers
Brake lever adjustment mainly fixes two common problems: too long brake travel (you need to squeeze hard to brake) and uncomfortable lever height that affects riding posture.
Step 1: Adjust Brake Lever Height
Loosen the fixed bolts on the brake lever base slightly. Do not unscrew them completely. Tilt the brake lever up or down to a comfortable angle — the most suitable position is where your fingers can naturally rest on the lever when holding the handlebar, without wrist strain during long rides. After adjusting the angle, tighten the bolts firmly.
Step 2: Adjust Brake Sensitivity (Travel Distance)
There is a small adjustment screw at the front of most brake levers. This screw controls the tightness of the brake line and the lever travel:
-
Tighten the screw clockwise: Shortens brake travel, makes braking more sensitive (brakes engage with a lighter squeeze)
-
Loosen the screw counterclockwise: Lengthens brake travel, softens the brake feel
Note: Do not adjust the screw too tight. Excessively sensitive brakes will cause sudden stops and easily lock the wheels, leading to slips and falls.
Part 2: How to Adjust Brake Calipers & Fix Rubbing Discs
Brake caliper misalignment is the most common issue for electric scooters, especially off-road models that endure continuous vibration on rough terrain. Misaligned calipers will cause the brake pads to rub against the disc continuously, resulting in weird friction noise, reduced range, and overheated brakes.
Step 1: Loosen the Caliper Fixed Bolts
Locate the two fixing bolts on both sides of the brake caliper. Loosen them gently to make the caliper slightly movable. This allows you to fine-tune the gap between the brake pads and the brake disc.
Step 2: Align the Caliper and Adjust the Gap
Push the brake disc slightly to the middle position, then manually move the caliper to ensure equal gap on both sides of the brake disc. The ideal state is that the disc can rotate freely without touching the left and right brake pads.
A simple test method: Rotate the scooter wheel slowly. If there is no friction noise and no resistance, the alignment is successful. If you hear continuous rubbing sound, readjust the caliper position until the wheel spins smoothly.
Step 3: Retighten the Bolts
After confirming the perfect gap, hold the caliper steady and tighten the two fixing bolts diagonally. Do not tighten one bolt fully first, which will cause secondary misalignment.
Part 3: Final Brake Test (Must-Do Before Riding)
Never ride immediately after adjustment. Complete these safety tests first:
-
Squeeze the brake lever multiple times to check if the rebound is smooth and the braking force is stable
-
Rotate the wheels at high speed to confirm no friction or jamming
-
Test brake response at low speed to ensure no delayed braking or brake failure
Common Brake Issues & Quick Fixes
-
Soft brake lever / weak braking: Adjust the lever travel screw or check for loose brake lines
-
Continuous rubbing noise: Readjust caliper alignment and clean brake disc dust
-
Brake lever cannot rebound: Loosen the adjustment screw and lubricate the lever pivot
Final Thoughts
Regular brake adjustment is an essential part of electric scooter daily maintenance. Properly tuned brake levers and calipers not only extend the service life of brake pads and discs but also greatly improve riding safety and control accuracy, especially for high-speed and off-road riding.
Spend 5 minutes checking and adjusting your brakes regularly to keep every ride safe and smooth!
#ElectricScooter #ScooterMaintenance #BrakeAdjustment #ScooterSafety #OffRoadScooter #Roadhitter
Share:
Roadhitter Full Trail Test: Speed, Climbing & Range In Rough Terrain